
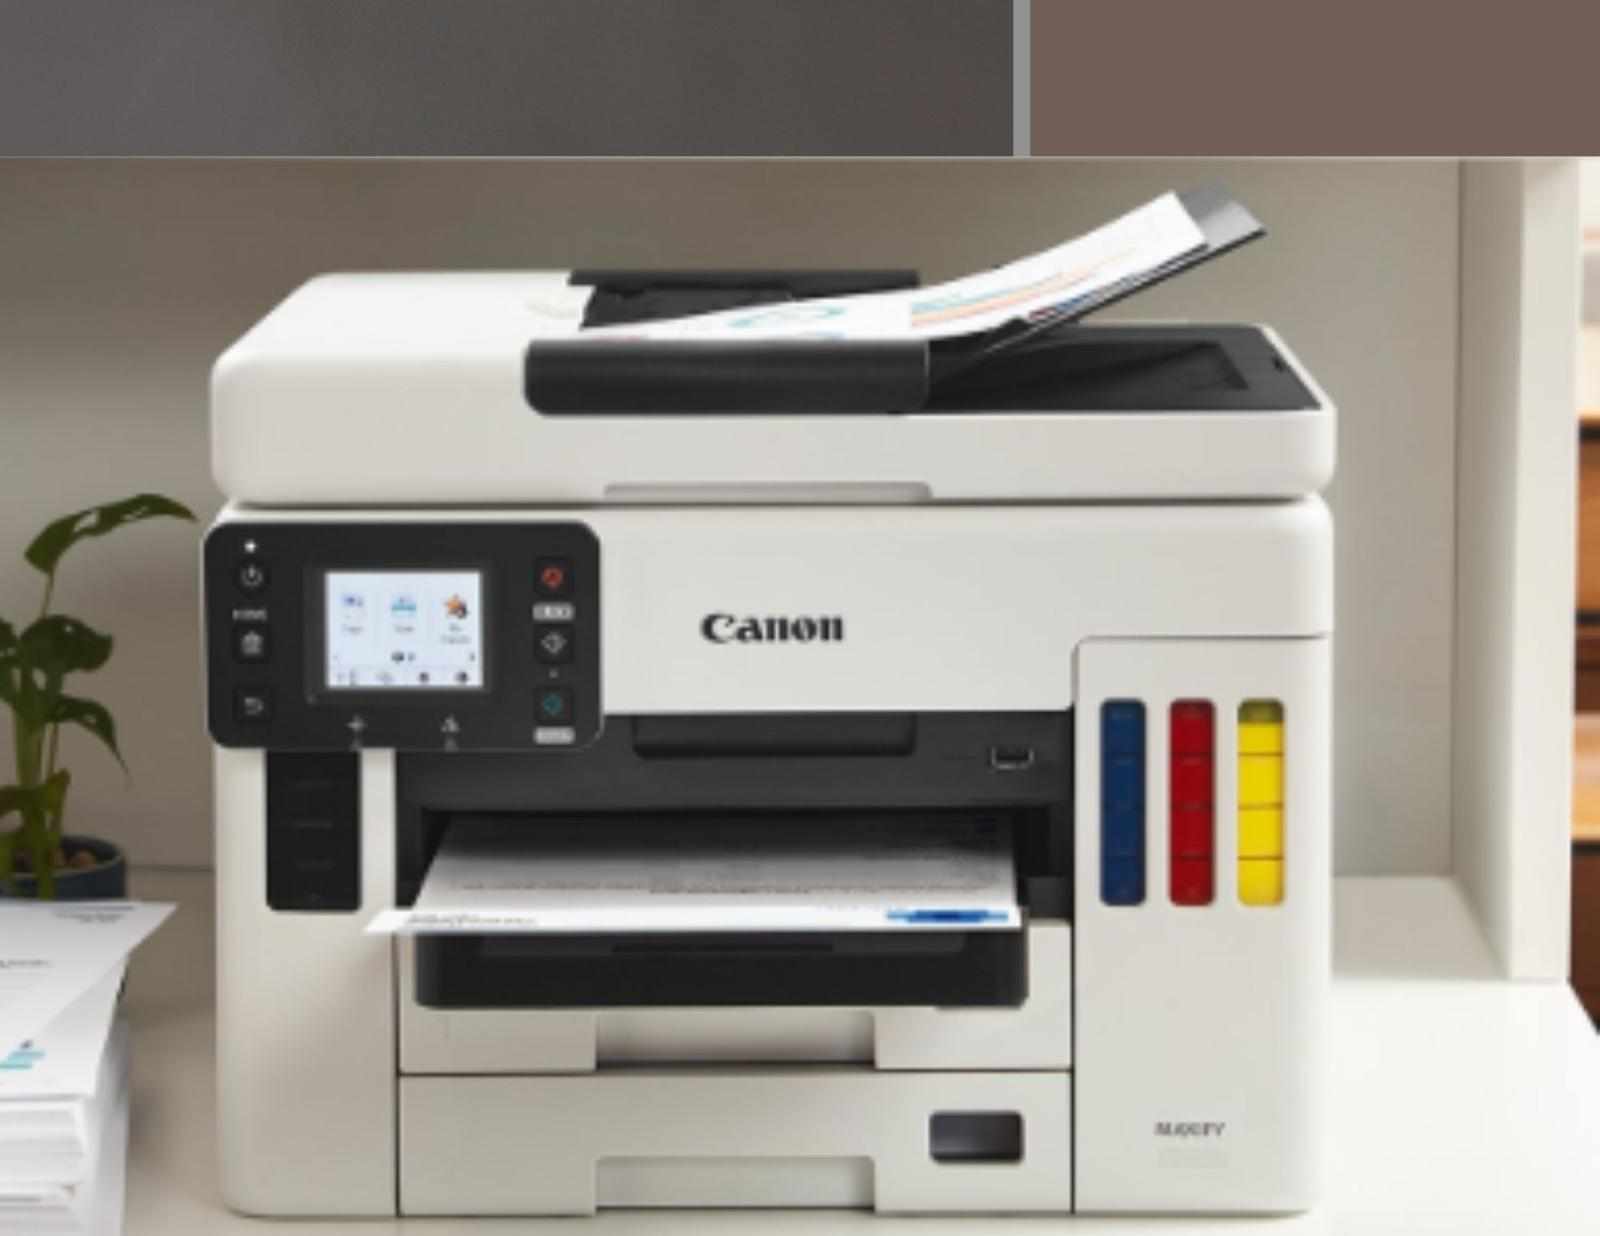
Connecting your Canon printer to a WiFi network allows you to print documents and photos from multiple devices without the hassle of cables. Wireless connectivity provides flexibility, convenience, and efficiency for home and office printing. This article provides a step-by-step guide to connect your Canon printer to WiFi, along with troubleshooting tips, benefits, and FAQs.
👉 Need more help? [Click Here: Live Chat] or [Dial +1-801-878-6858 USA]
Why Connect Your Canon Printer to WiFi?
Connecting your Canon printer to a wireless network offers several advantages:
Convenience: Print from anywhere within your network without physical connections.
Multiple Device Access: Allows multiple computers, laptops, smartphones, or tablets to share the same printer.
Cable-Free Setup: Reduces clutter and makes your workspace cleaner.
Remote Printing: Some Canon printers support cloud printing services.
Preparation Before You Begin
Before connecting your Canon printer to WiFi, ensure the following:
Your WiFi router is working and you know the SSID (network name) and password.
Your Canon printer is powered on and placed within the WiFi signal range.
All devices you intend to print from are connected to the same WiFi network.
Latest drivers for your Canon printer are downloaded and ready for installation.
Step-by-Step Guide to Connect Canon Printer to WiFi
Step 1: Turn on Your Canon Printer
Power on the printer using the power button.
Ensure there are no error messages displayed on the printer screen.
Step 2: Access the Printer’s WiFi Setup Mode
Canon printers typically provide three main methods for wireless setup:
Method 1: Using WPS Button for Quick Setup
Press the WPS button on your router.
Within 2 minutes, press the WPS button on your Canon printer.
The printer will automatically connect to the WiFi network without entering a password.
Method 2: Manual Setup via Printer Control Panel
On the printer, navigate to Setup > Wireless LAN Settings > Wi-Fi Setup Wizard.
Select your WiFi network (SSID) from the list.
Enter your WiFi password using the on-screen keyboard.
Confirm the connection; the printer will display a success message when connected.
Method 3: Connect Canon Printer to WiFi Using a Smartphone or Computer
Install the Canon PRINT Inkjet/SELPHY app on your smartphone or tablet.
Follow the in-app instructions to detect your printer and connect it to the WiFi network.
On a computer, open the Canon driver installer and follow the prompts to connect the printer wirelessly.
Step 3: Install Printer Drivers on Your Devices
For Windows or macOS, download the latest Canon drivers from Canon Support.
Follow the installation instructions, selecting wireless connection when prompted.
On mobile devices, the Canon PRINT Inkjet/SELPHY app automatically installs required drivers.
Testing Your Connection
Print a test page from each connected device to confirm the printer is successfully connected to WiFi.
Try printing from a smartphone or tablet to ensure wireless printing works across all devices.
Troubleshooting Tips
Printer Not Found on Network: Ensure both printer and devices are on the same WiFi network.
Weak Signal: Move the printer closer to the router.
Incorrect Password: Re-enter the WiFi password correctly.
Driver Issues: Update or reinstall the printer drivers.
Firewall or Security Software: Temporarily disable firewall or antivirus if the printer fails to connect.
Benefits of Connecting Your Canon Printer to WiFi
Flexibility: Print from any device connected to the same network.
Multi-Device Sharing: Ideal for households or offices with multiple users.
Reduced Cable Clutter: Wireless printing eliminates the need for USB connections.
Cloud Printing Options: Compatible with Google Cloud Print and Canon cloud services.
Efficiency: Saves time and allows seamless workflow across devices.
FAQs
Q1: Can I connect my Canon printer to WiFi without a computer?
A1: Yes, you can use the printer’s control panel or the Canon PRINT Inkjet/SELPHY app on a smartphone or tablet.
Q2: What if my Canon printer won’t connect to WiFi?
A2: Check the WiFi password, ensure both devices are on the same network, restart the printer and router, and update drivers if needed.
Q3: Can multiple devices print wirelessly to the same Canon printer?
A3: Yes, once connected to WiFi, any device on the same network can access the printer.
Q4: Does the printer need to be close to the router?
A4: Yes, a strong WiFi signal ensures stable printing and avoids disconnections.
Q5: Is wireless printing slower than USB printing?
A5: Generally, WiFi printing is slightly slower than USB, but the convenience outweighs the minor delay for most users.
Conclusion
Connecting your Canon printer to WiFi is a simple yet powerful way to enable wireless printing across multiple devices. By following the steps above, you can enjoy cable-free printing, efficient workflow, and seamless access to your printer from computers, laptops, smartphones, and tablets. With proper setup, troubleshooting, and device compatibility, wireless printing becomes fast, reliable, and convenient.


Write a comment ...